
DIY furniture wrapping on your first drawer front
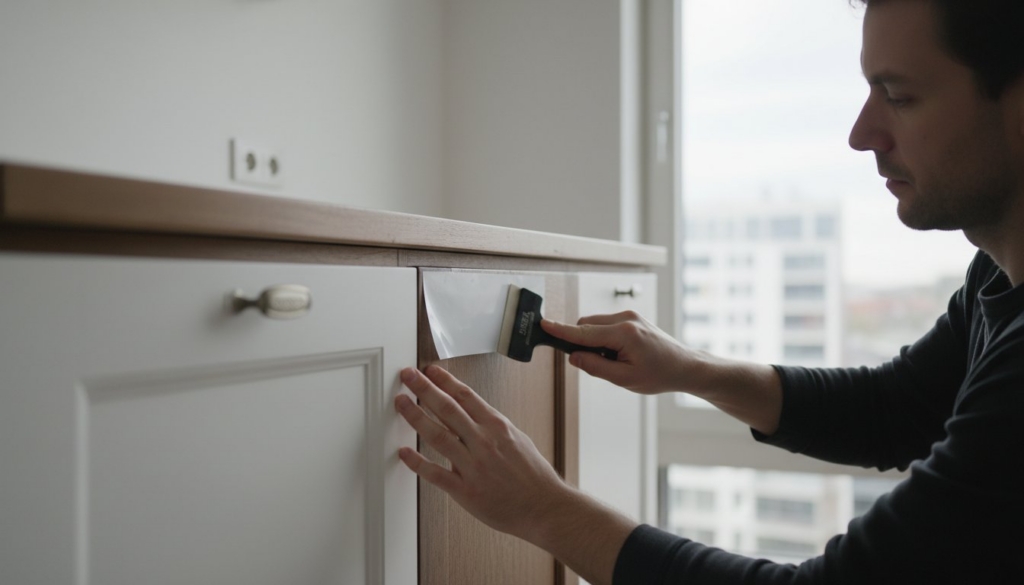
A flat drawer front is a good first project for DIY furniture wrapping. It’s small enough to handle on a table and it has the same features you’ll meet on a bigger job: a face, four edges, corners and a handle. Pick a piece you can take out of use while you practise.
Get the base and the pattern right
Remove the handle and examine the front in light from the side. Film follows small bumps surprisingly well, including ones you’d prefer it to hide. Deal with any loose finish, raised chips or old adhesive first. A swollen board or a surface that’s peeling in sheets needs repair or replacement before it’s a candidate for wrapping. Try an offcut in a hidden place to check adhesion.
Clean the front and edges with a product suitable for both the surface and the film, and let them dry. Mark the top on the back. If you have woodgrain, lay all the drawer fronts out in order and mark the direction before cutting. A single piece with the grain turned ninety degrees is very obvious once the drawers go back.
Work across the face before the corners
Cut the film with enough to return around the edges as the product instructions allow. Keep most of the backing in place while you line up the first edge. Expose a short section and smooth it down with a felt-edged squeegee. Continue in small sections. If a crease starts, stop while you can still reposition that part of the sheet.
Follow the specific film instructions for corners and heat. Stretching a piece hard around a tight corner may look tidy today and pull back later. Before doing the rest of the kitchen, refit the first drawer, open and close it, and check the corner returns and handle holes.
If your doors have deep mouldings, curved edges or an old finish you can’t identify, send a close-up through our furniture wrapping page. A photo of the most difficult corner is more helpful than a distant photo of a perfect flat panel.


