
How to prepare artwork for contour cut labels

When you order contour cut labels, describe what you want to hold in your hand. Do you want twenty circles on a single backing sheet, ready to peel one at a time, or twenty separate stickers to put into parcels? The printed design can look identical while the cutting and packing are quite different.
On a sheet, the cutter can follow each outline through the face material while leaving the backing in one piece. For separate stickers, the backing is divided too. Its outline may follow the sticker or leave a bigger piece to hold. A photo of a sample you like is an easy way to explain the finish.
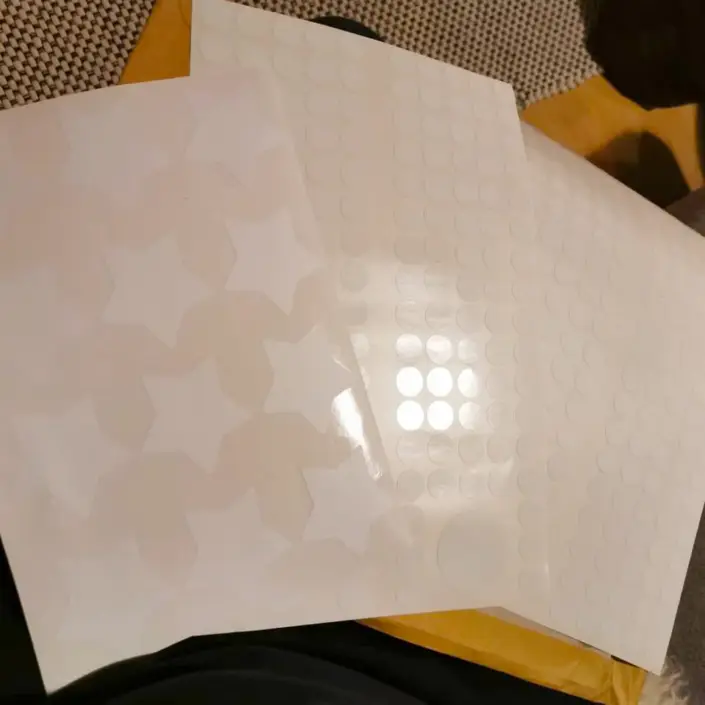
The cutter needs an actual digital path. A black line painted into a photograph may print as part of the picture without giving the cutter anything to follow. Roland’s VersaWorks cutting guide describes the use of a vector path. If a photo is all you have, send it with the finished size and ask whether the cut outline should be prepared for you.
Leave space between important text and the edge. If the background colour should reach the edge, extend it beyond the cut line by the amount the printer requests. A very narrow border can exaggerate a tiny cutting variation. Check how the border looks at the real size before approving it.
When you request printed and cut stickers, list the dimensions, quantity per design, surface, deadline and preferred backing format. If a label must fit a recess or cover an old mark, provide that measurement separately. The finished label size and the opening it has to fit are two useful pieces of information.


